Getting Started with Tiled2Unity
First, download Tiled2Unity and install it on your computer.
- Windows: The MSI installer is recommended.
- Mac: Unzip the
Tiled2UnityMac[version].zipfile and drag the Tiled2UnityMac.app archive into yourApplicationsfolder.
Tiled2Unity requires a number of scripts and shaders to be installed on any Unity project you wish to export to. This is best achieved by running Tiled2Unity and selecting the Help -> Import Unity Package to Project menu item.

This will prompt you to import the Tiled2Unity package into your project.
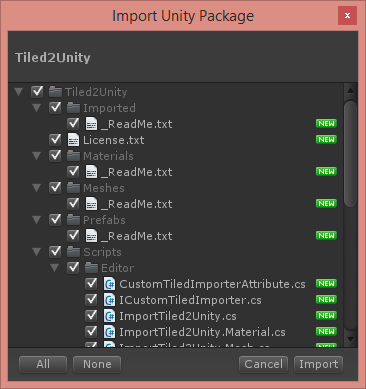
Remember: Run this import step every time you update Tiled2Unity so that the latest scripts are in your Unity project.
Running Tiled2Unity
Launching Tiled2Unity will show you this GUI ...
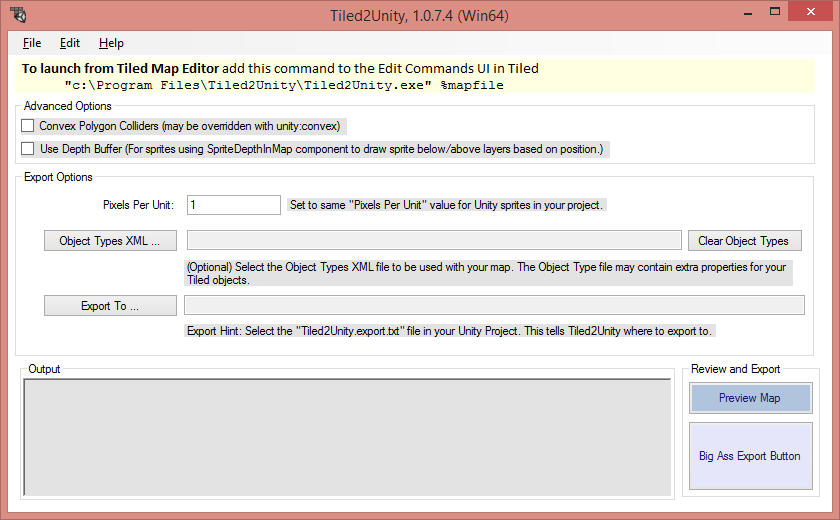
Everything you need to export a Tiled map to a Unity project should be explained there. You can also preview your map before exporting if you want to see how colliders will be created for you.
Launching Tiled2Unity from Tiled
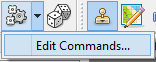
For convenience you can add a command to Tiled that will launch Tiled2Unity for you with the currently selected map.
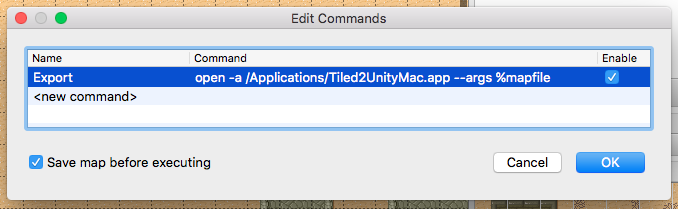
Open the Edit Commands... dialog in Tiled ...
Here you can add a command to Tiled that will open Tiled2Unity, passing the current map as an argument. This command is platform specific.
Windows
"C:\Program Files\Tiled2Unity\Tiled2Unity.exe" %mapfile
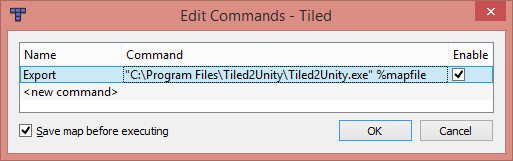
Mac OS X
open -a /Applications/Tiled2UnityMac.app --args %mapfile
With this set you can make changes to your map in Tiled Map Editor, press F5 and easily export to your Unity project.